
How To Install MySQL Workbench On Ubuntu
Explains all the steps required to install MySQL Workbench On Ubuntu 18.04 LTS.
MySQL Workbench is the Graphical Tool to manage the MySQL and MariaDB database servers. We can use Workbench to manage databases, database users, database tables. It also provides features to graphically design the database.
In this tutorial, we will discuss all the steps required to install MySQL Workbench on Ubuntu 18.04 LTS. The steps should be the same on other versions of Ubuntu.
Notes: You may also like to go through - How To Install MySQL 8 on Ubuntu.
Step 1 - Refresh Packages List
Use the below-mentioned command to refresh the packages list. It will get the latest packages info from the ubuntu repositories so that we will install the most recent version of Workbench.
# Update packages list
sudo apt-get update
Step 2 - Install Workbench
In this step, we will install Workbench using the command as mentioned below.
# Install MySQL Workbench
sudo apt install mysql-workbench
Press Y to confirm and continue with the installation.
Step 3 - Launch Workbench
Now launch the Workbench from the installed software as shown in Fig 1.
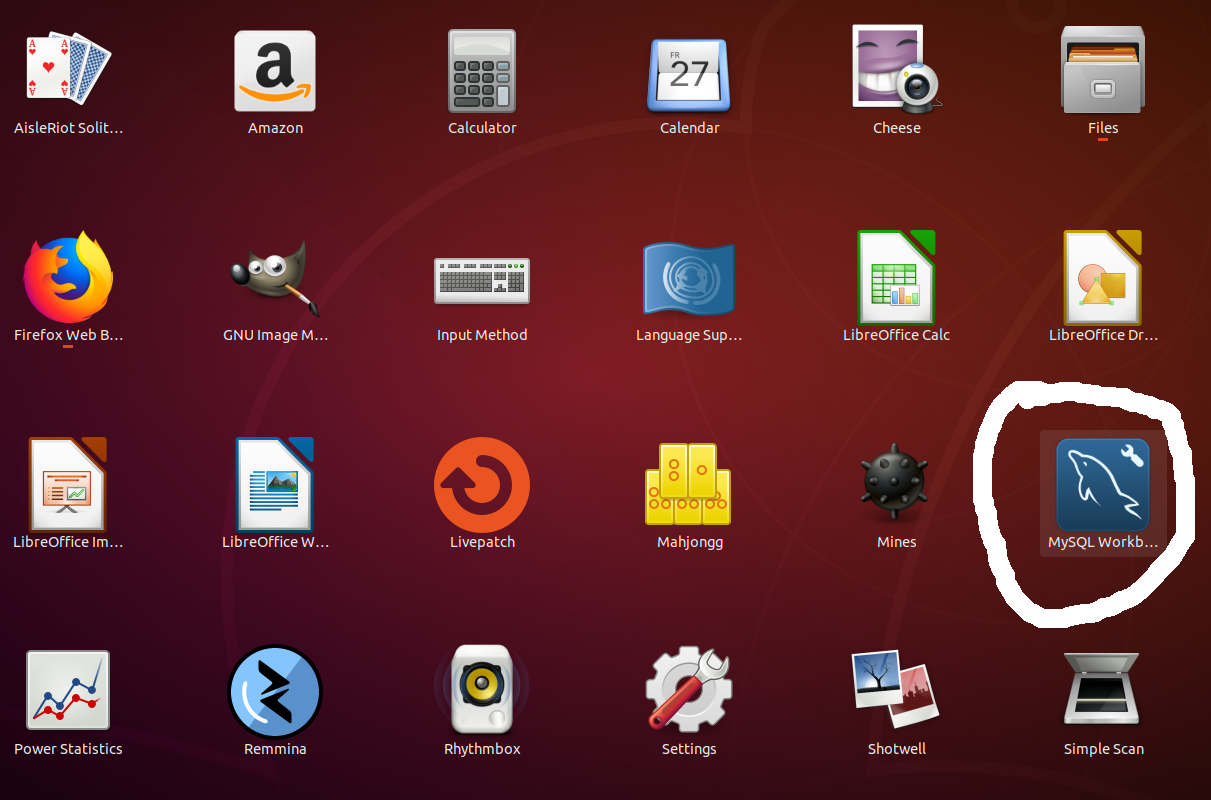
Fig 1
It will launch the Workbench and show the default window as shown in Fig 2.
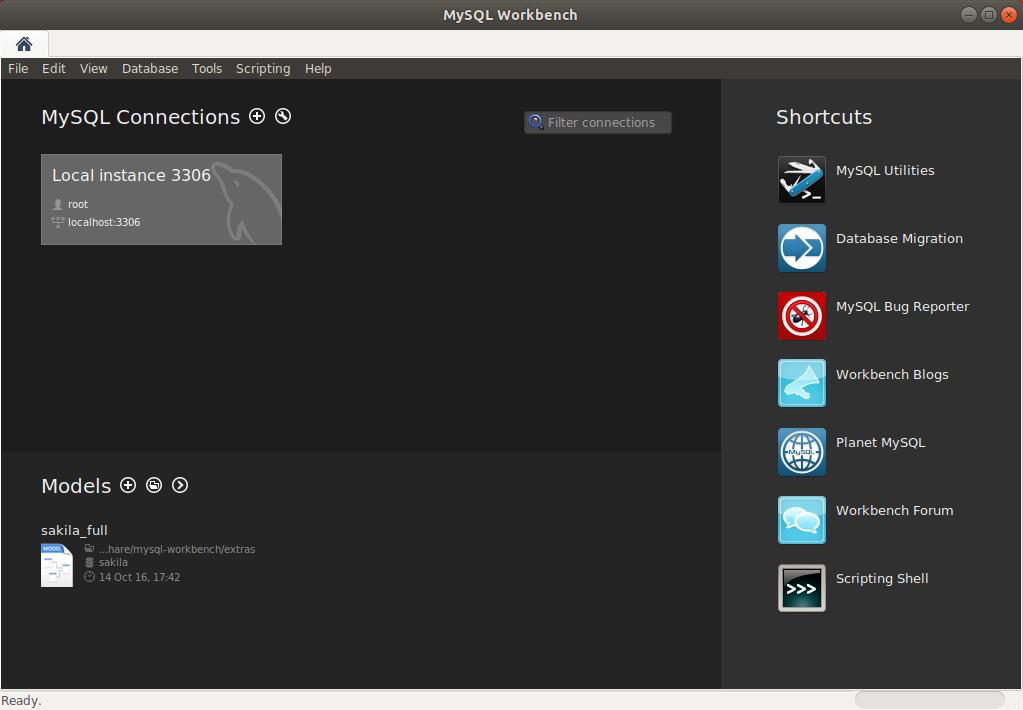
Fig 2
It shows the available MySQL servers installed on the system. In case you have not installed MySQL server, you can follow this tutorial - How To Install MySQL 8 on Ubuntu.
We can also launch the Workbench from the console using the below-mentioned command.
# Launch Workbench
mysql-workbench
Step 4 - Configure Server
Click on the card with title Local Instance 3306. It will show the server details and button to connect MySQL Workbench with the installed MySQL or MariaDB server as shown in Fig 3.
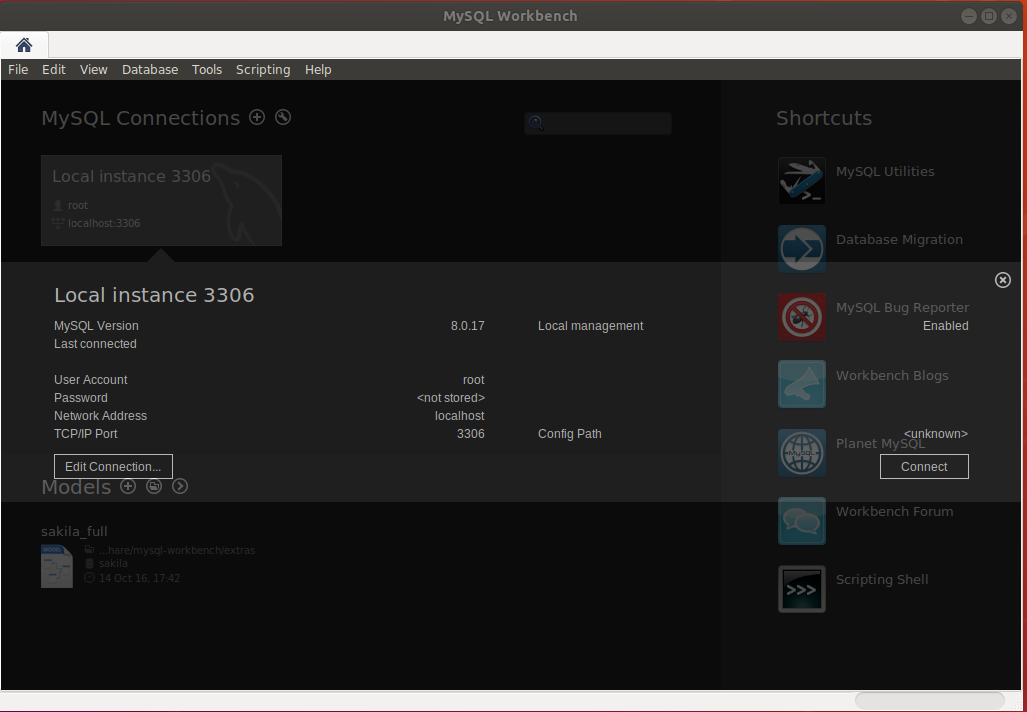
Fig 3
Now click on the Connect Button. It might show connection error and required to configure the MySQL root account to use native password plugin as mentioned in - How To Install MySQL 8 on Ubuntu.
It will prompt for the password as shown in Fig 4.
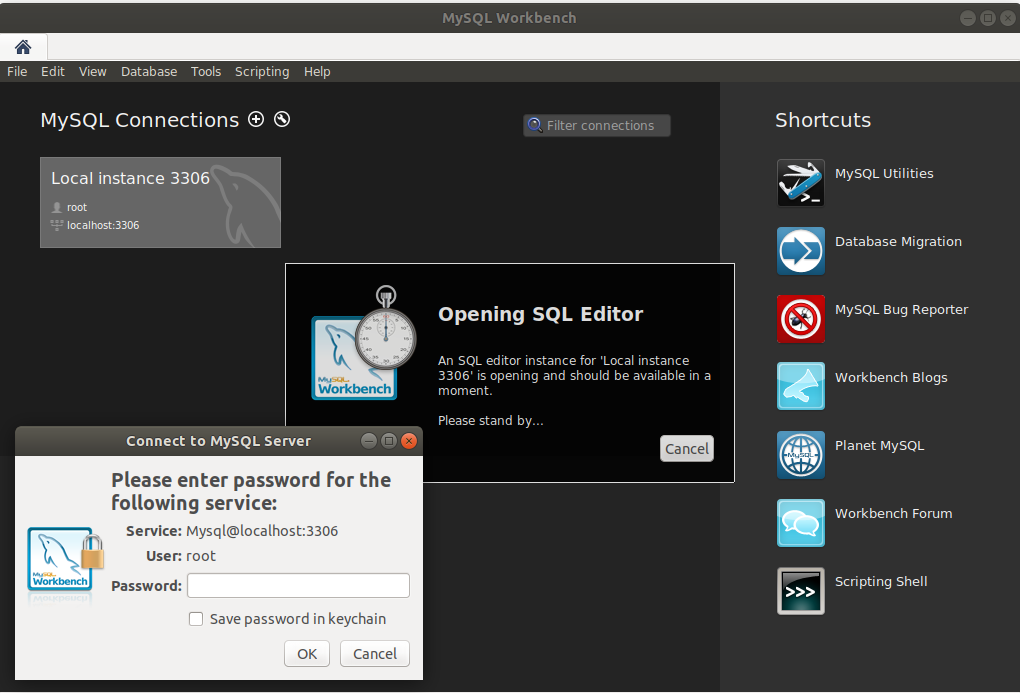
Fig 4
Enter the password and click on the OK
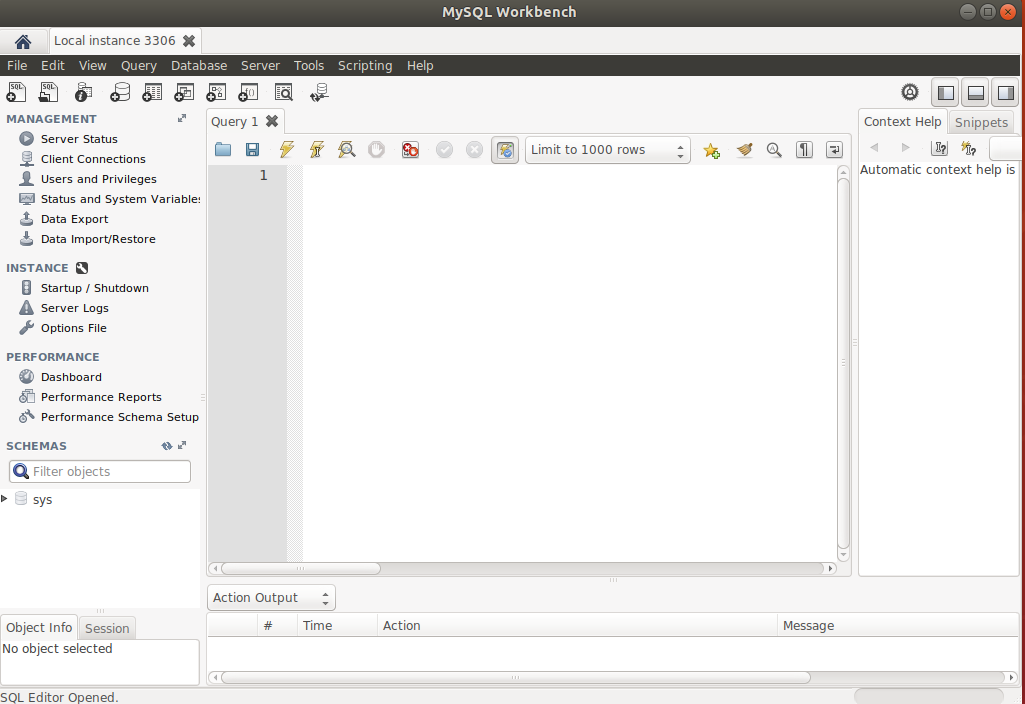
Fig 5
This is how we can install MySQL Workbench on Ubuntu 18.04 LTS.


